The robot arm took about two hours to assemble. Getting everything it needed onto my desk took the better part of two months. That inversion is the real story of this post, and nobody warned me about it: in robotics, the hard part of getting started isn't the robot. It's the logistics.
The vendor hunt
I'd decided on an SO-101, the open-source arm designed by Hugging Face, the kit is two arms, a leader you move by hand and a follower that mirrors it, and it's the arm the LeRobot ecosystem is built around. Deciding what to buy took an evening. Deciding where to buy it took longer, because I hit a problem I didn't expect: as a beginner, you can't yet tell which vendors are legit.
Several shops sell SO-101 kits, at different prices, with different bundles, and to a newcomer they all look equally plausible and equally sketchy. I even had my doubts about Seeed Studio, which is funny in hindsight, because Seeed turns out to be one of the most established hardware vendors in the space. Today I know that. Standing at the checkout page, I didn't. I ordered the Pro version as two kits: the 3D-printed parts ($35 list today) and the servo motor kit ($260 list today), and then did the thing that defines this whole chapter: I waited. About two weeks, China to Berlin.
The easy part
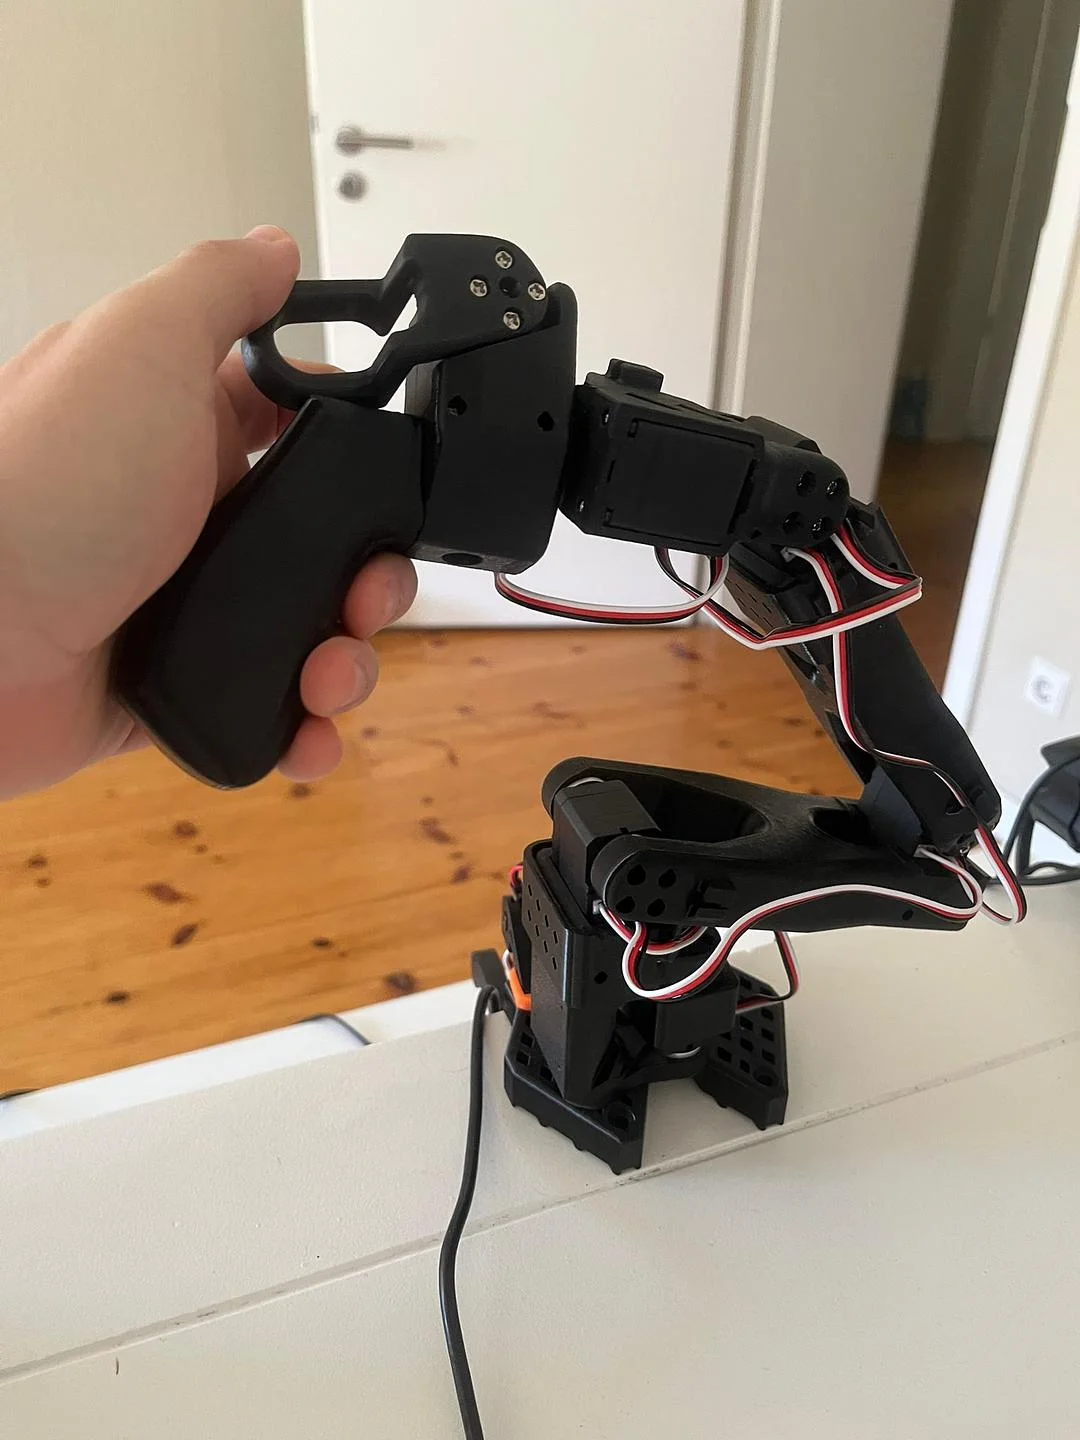
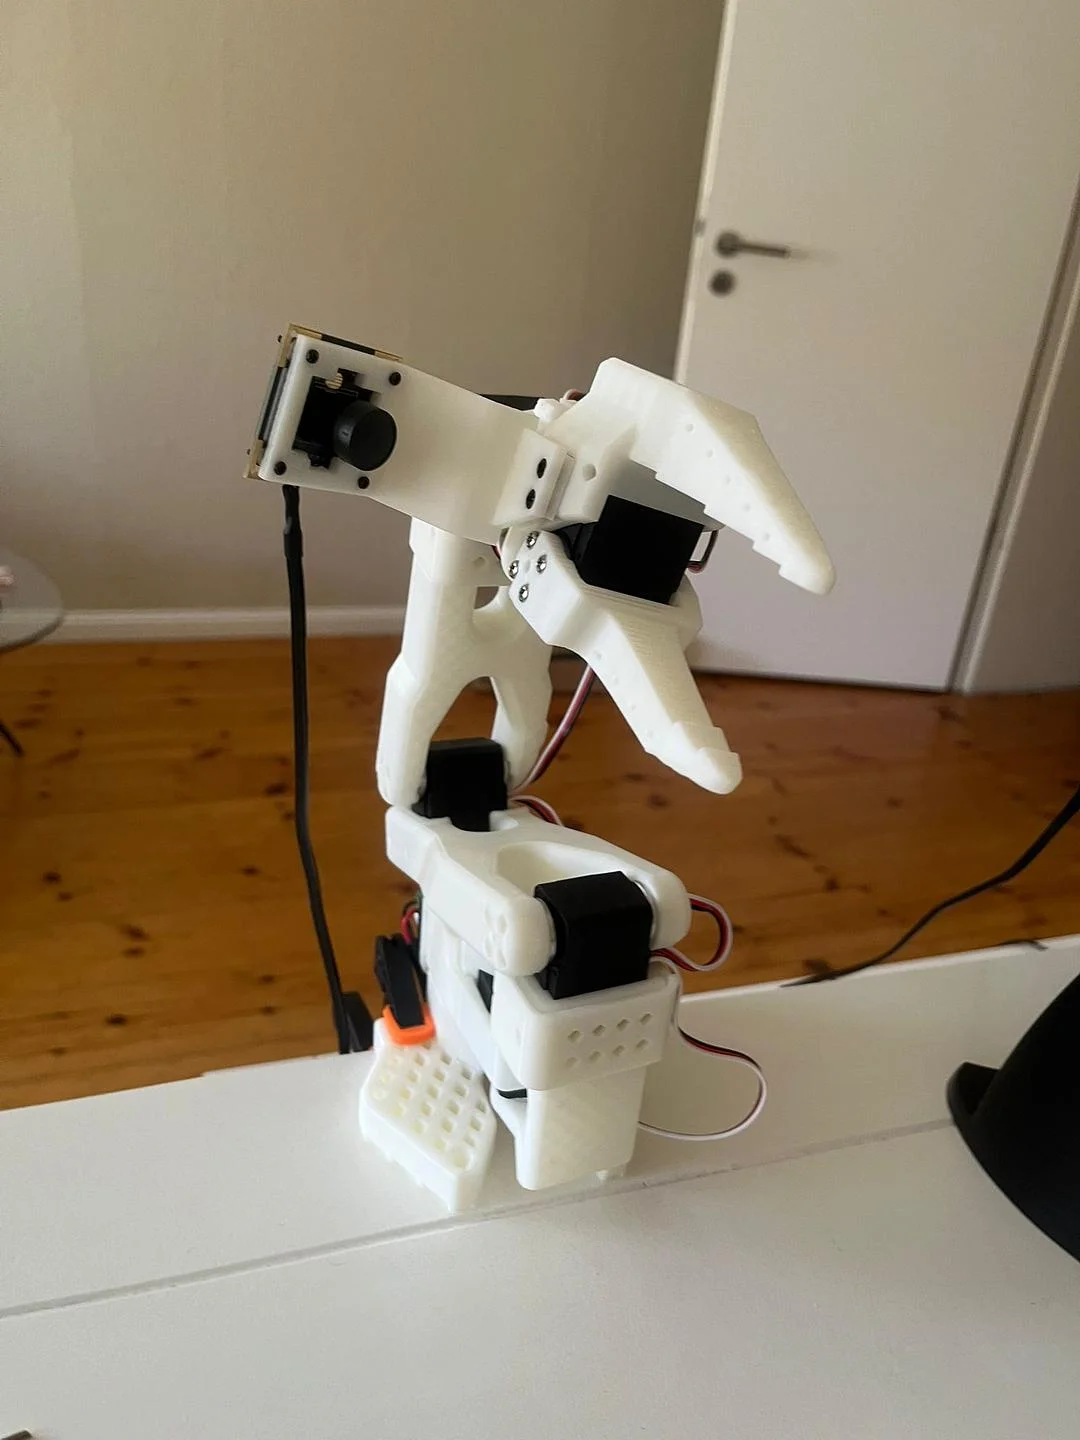
Assembly was genuinely easy: about two, two and a half hours, following the LeRobot assembly guide (which is good) plus a couple of YouTube videos. Two real-world notes from those hours:
The first is voltage. The SO-101 Pro, unlike the standard kit, runs the leader arm at 5V and the follower at 12V, two different power supplies that look annoyingly similar. Plug the wrong one into the wrong arm and you can cook a servo. We double-checked every connection like we were defusing something.
The second is that atoms have tolerances. A few screw holes in the 3D-printed skeleton came out slightly undersized, so some screws needed convincing, a screwdriver, a bit of force, a silent apology to the plastic. No harm done, but software never asks you to push harder.
Calibration, and the moment it becomes a robot
Before the two arms can talk, you calibrate them: you move each joint to its limits so the software learns where every motor's range of motion begins and ends. It's a strange little ritual (you're literally teaching the robot the shape of its own body) and it matters, because everything that follows trusts those numbers.
Then comes teleoperation, and the payoff. The leader arm is really just six motors being used backwards: you move it, and its joint positions are read out as commands. The follower receives those positions and mirrors them in real time. On paper that's all it is. In your hands, it's something else: you move your arm, and a robot moves with you, instantly. That was the moment the box of parts stopped being a kit and became a robot.
Then I needed cameras
Teleop working, we wanted to move straight on to training a policy, and hit the pause nobody plans for: to train anything, the robot needs to see, and I had no cameras. Momentum, meet shopping research.
I spent a few days on questions I couldn't yet judge: Do I need a depth camera, or is plain RGB enough? How high a resolution? How many cameras, and where do they go? The answers, for imitation learning on a desk arm, turned out to be reassuringly boring: no depth needed (the models learn from plain RGB video); 1080p is plenty; and two views is the standard setup: one camera on the gripper seeing what the "hand" sees, one external camera watching the whole scene.
I bought a Logitech C922 Pro with a small tripod for the external view (about €85) and a WowRobo 2MP module made to mount on the SO-101's gripper (€42.65 list today). Then I discovered my MacBook doesn't have enough ports for two arms plus two cameras, so add an Anker 4-port USB hub and a twin-pack of USB-C-to-USB adapters. Call it €35 of USB plumbing.
The camera that never arrived
The gripper camera earned its own saga. DHL marked a delivery attempt on a day my wife and I were both home all day, yet the bell never rang. For this one package there was no pickup-shop fallback, so it rode back to Munich where it came from. Several support emails with OpenELab later, they kindly shipped a replacement. Total detour: two to three weeks, for a camera that fits in a pocket. The desk was ready, the robot was calibrated, and we were all waiting for a doorbell.
The full kit
What getting started actually took, with prices as listed today (I bought some of it earlier at slightly different prices):
- SO-ARM101 Pro 3D-printed parts: $35
- SO-ARM101 Pro servo motor kit: $260
- Logitech C922 Pro webcam + tripod (external view): about €85
- WowRobo 2MP gripper camera: €42.65
- Anker 4-port USB hub + 2× USB-C-to-USB adapters: about €35
- Patience: included free, required constantly
All-in, roughly €450 with shipping. Not nothing, but consider what it buys: a real six-motor robot you can teach things.
What I learned
- Assembly is the easy part. Good docs and a couple of videos got a non-engineer through it in an afternoon.
- Hardware means logistics. Software is
npm install; robotics is vendor research, customs, doorbells, and support tickets. Plan calendar time for the physical world. - Voltage is real. 5V leader, 12V follower, one careless plug between them and you're shopping for servos again.
- The boring camera answer is fine. Plain RGB webcams, 1080p, two views. Don't overthink it at the start.
Everything was finally on the desk: two arms, two cameras, one very full USB hub. Time to teach it something. Next post: 54 demonstrations, one overnight training run, and a robot that picks up a sock by itself, 3 times out of 10.
Comments
Loading comments…